Rustic Apple Pie

IMG_7855

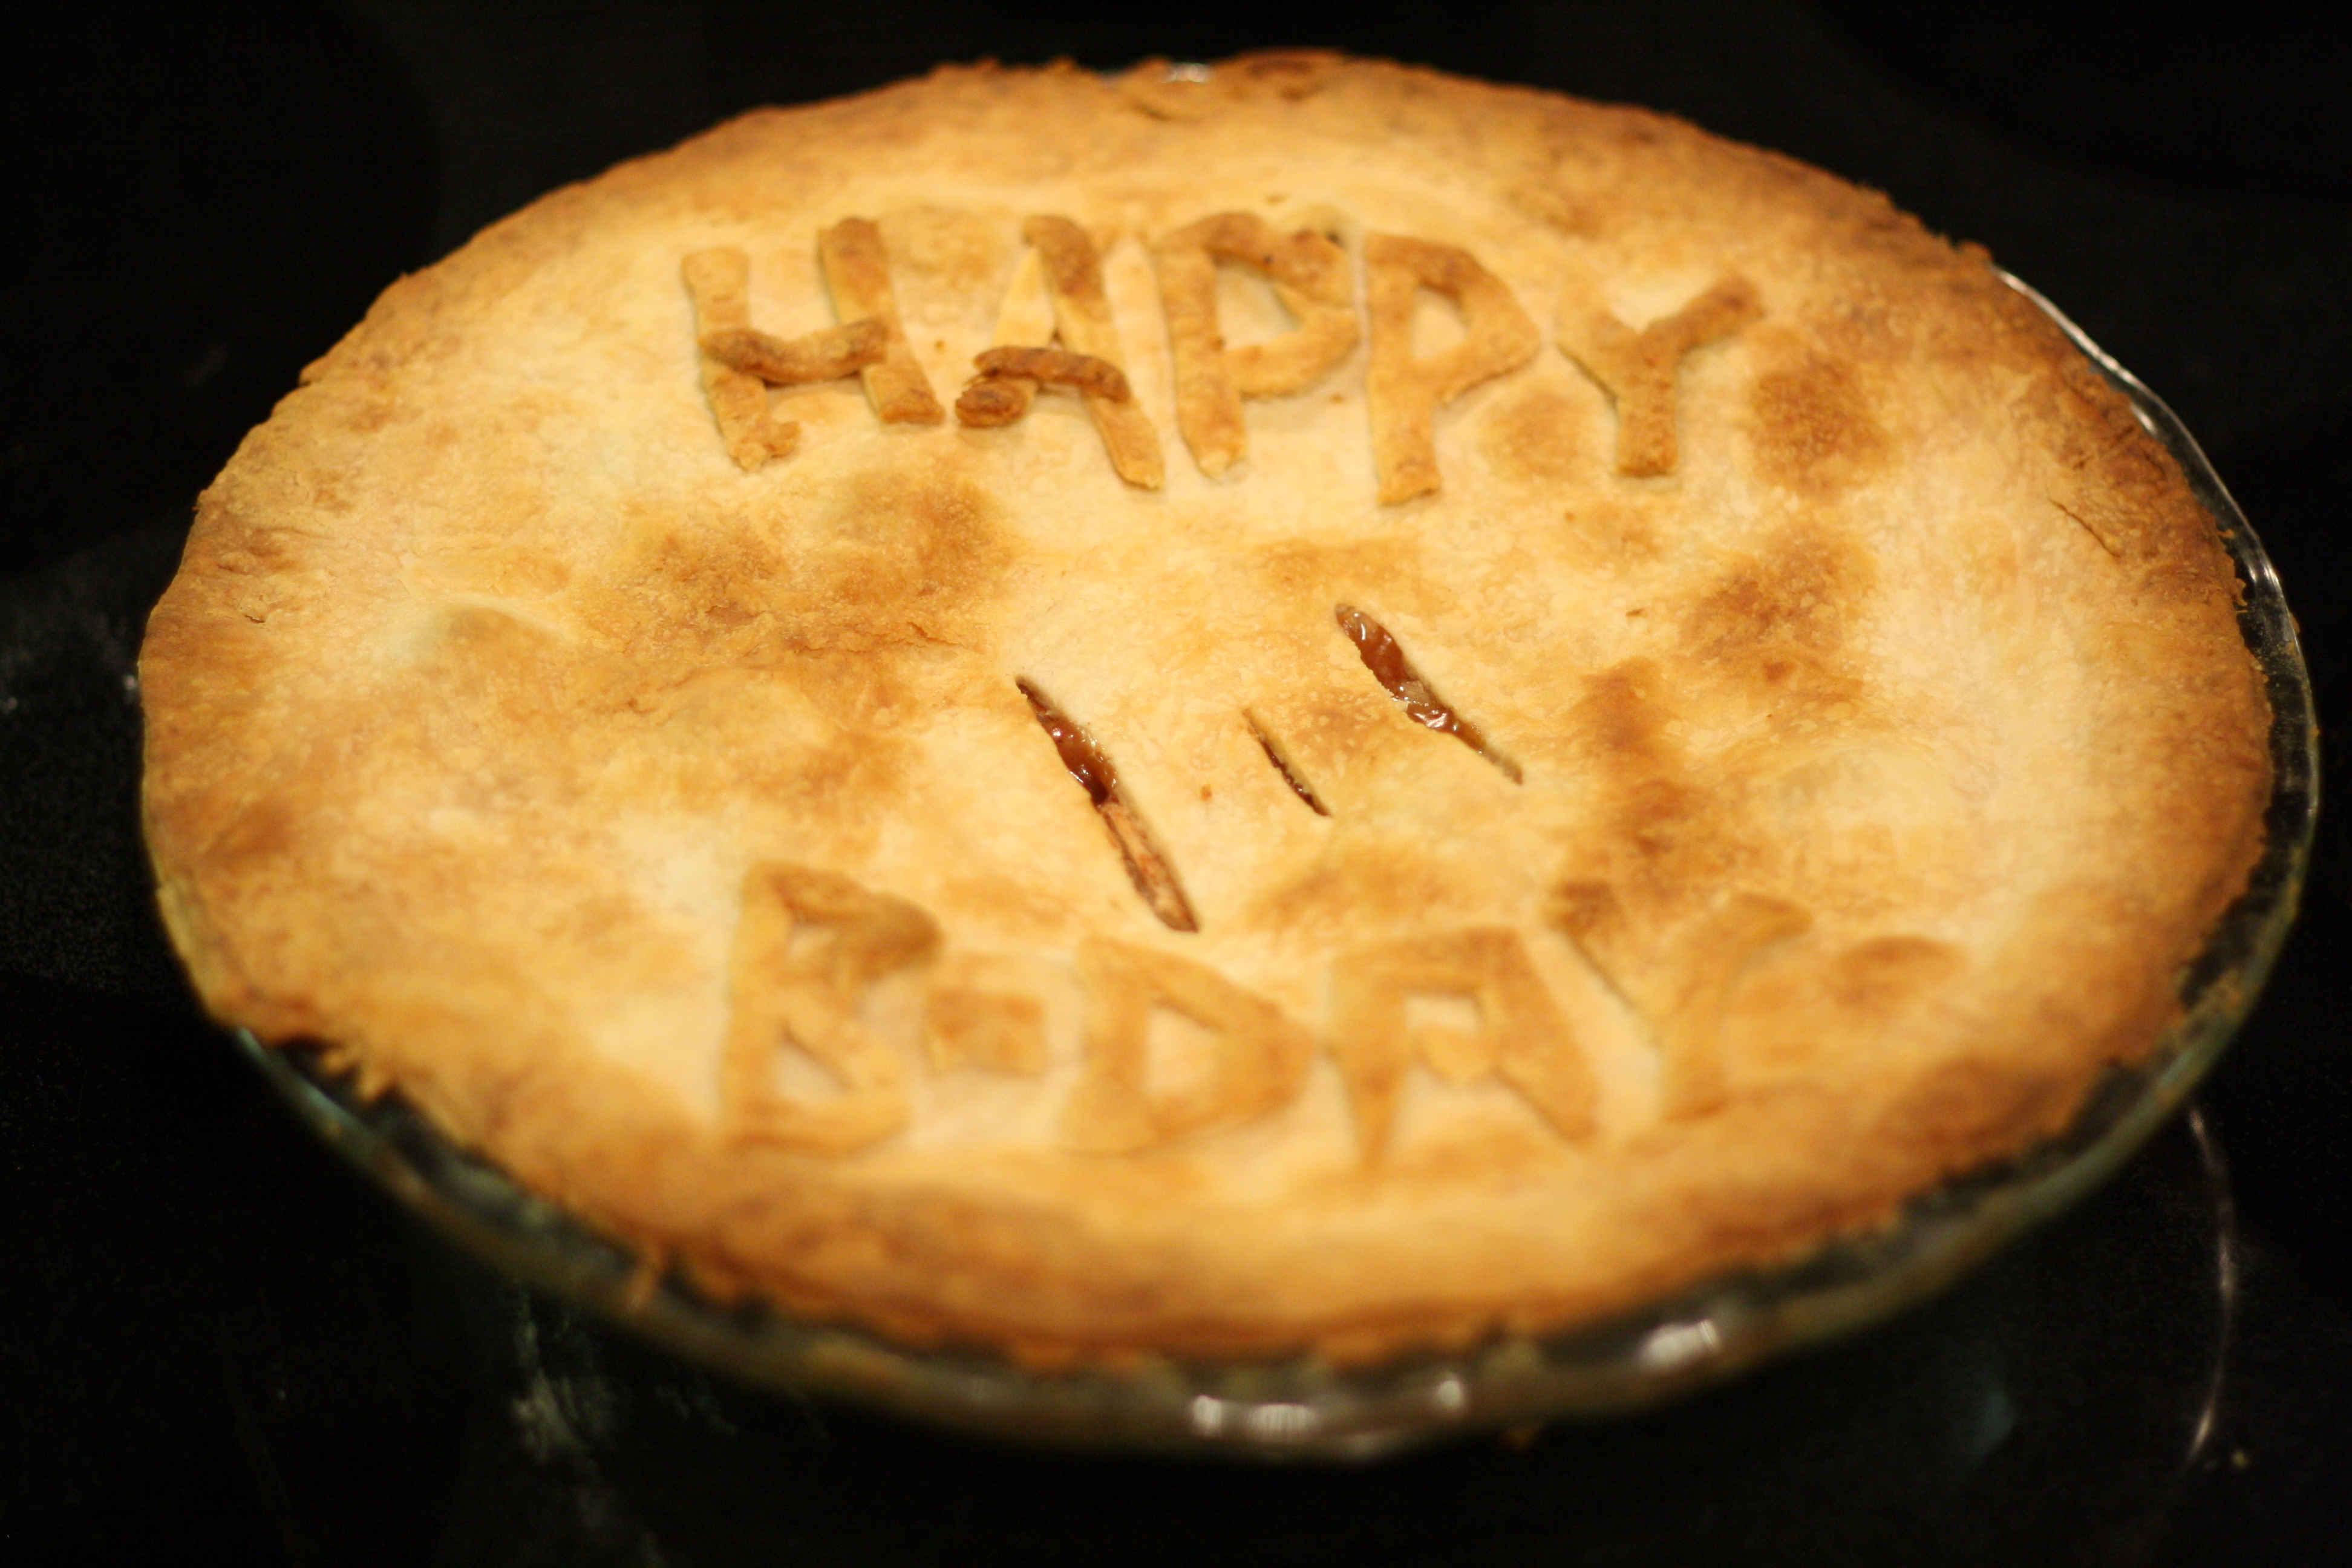
There is nothing like the smell of fresh apple pie straight out of the oven. This yummy smell reminds me of the first time I attempted to bake this delicious treat. When I was very young, I made my first apple pie from scratch. It was my mom who first showed me how to dice the apples, roll out the dough, and bake this glorious pie but let me tell you, I am now the pie crust master.

The recipe below is the same one I have been following since I was 10 years old. It’s from a very old edition of a Betty Crocker cookbook that my mom has now passed down to me (I think the publishing date is from the early 1970’s) where the finishing result is far superior than any other pie recipe that I’ve previously baked. The end result is a flaky, delicious crust with a flavorful burst of apple filling.

Ingredients:

Pie Crust

  • 2 cups of all-purpose flour
  • Pinch of salt
  • 3/4 cup shortening
  • 4-5 tablespoons of cold water

Filling

  • 7-8 McIntosh apples, peeled and chopped
  • 1/2 cup of sugar
  • 3 tablespoons of flour
  • 1 teaspoon of cinnamon
  • 1/2 teaspoon of nutmeg
  • Pinch of salt
  • 2 tablespoons of butter

Directions:

Filling

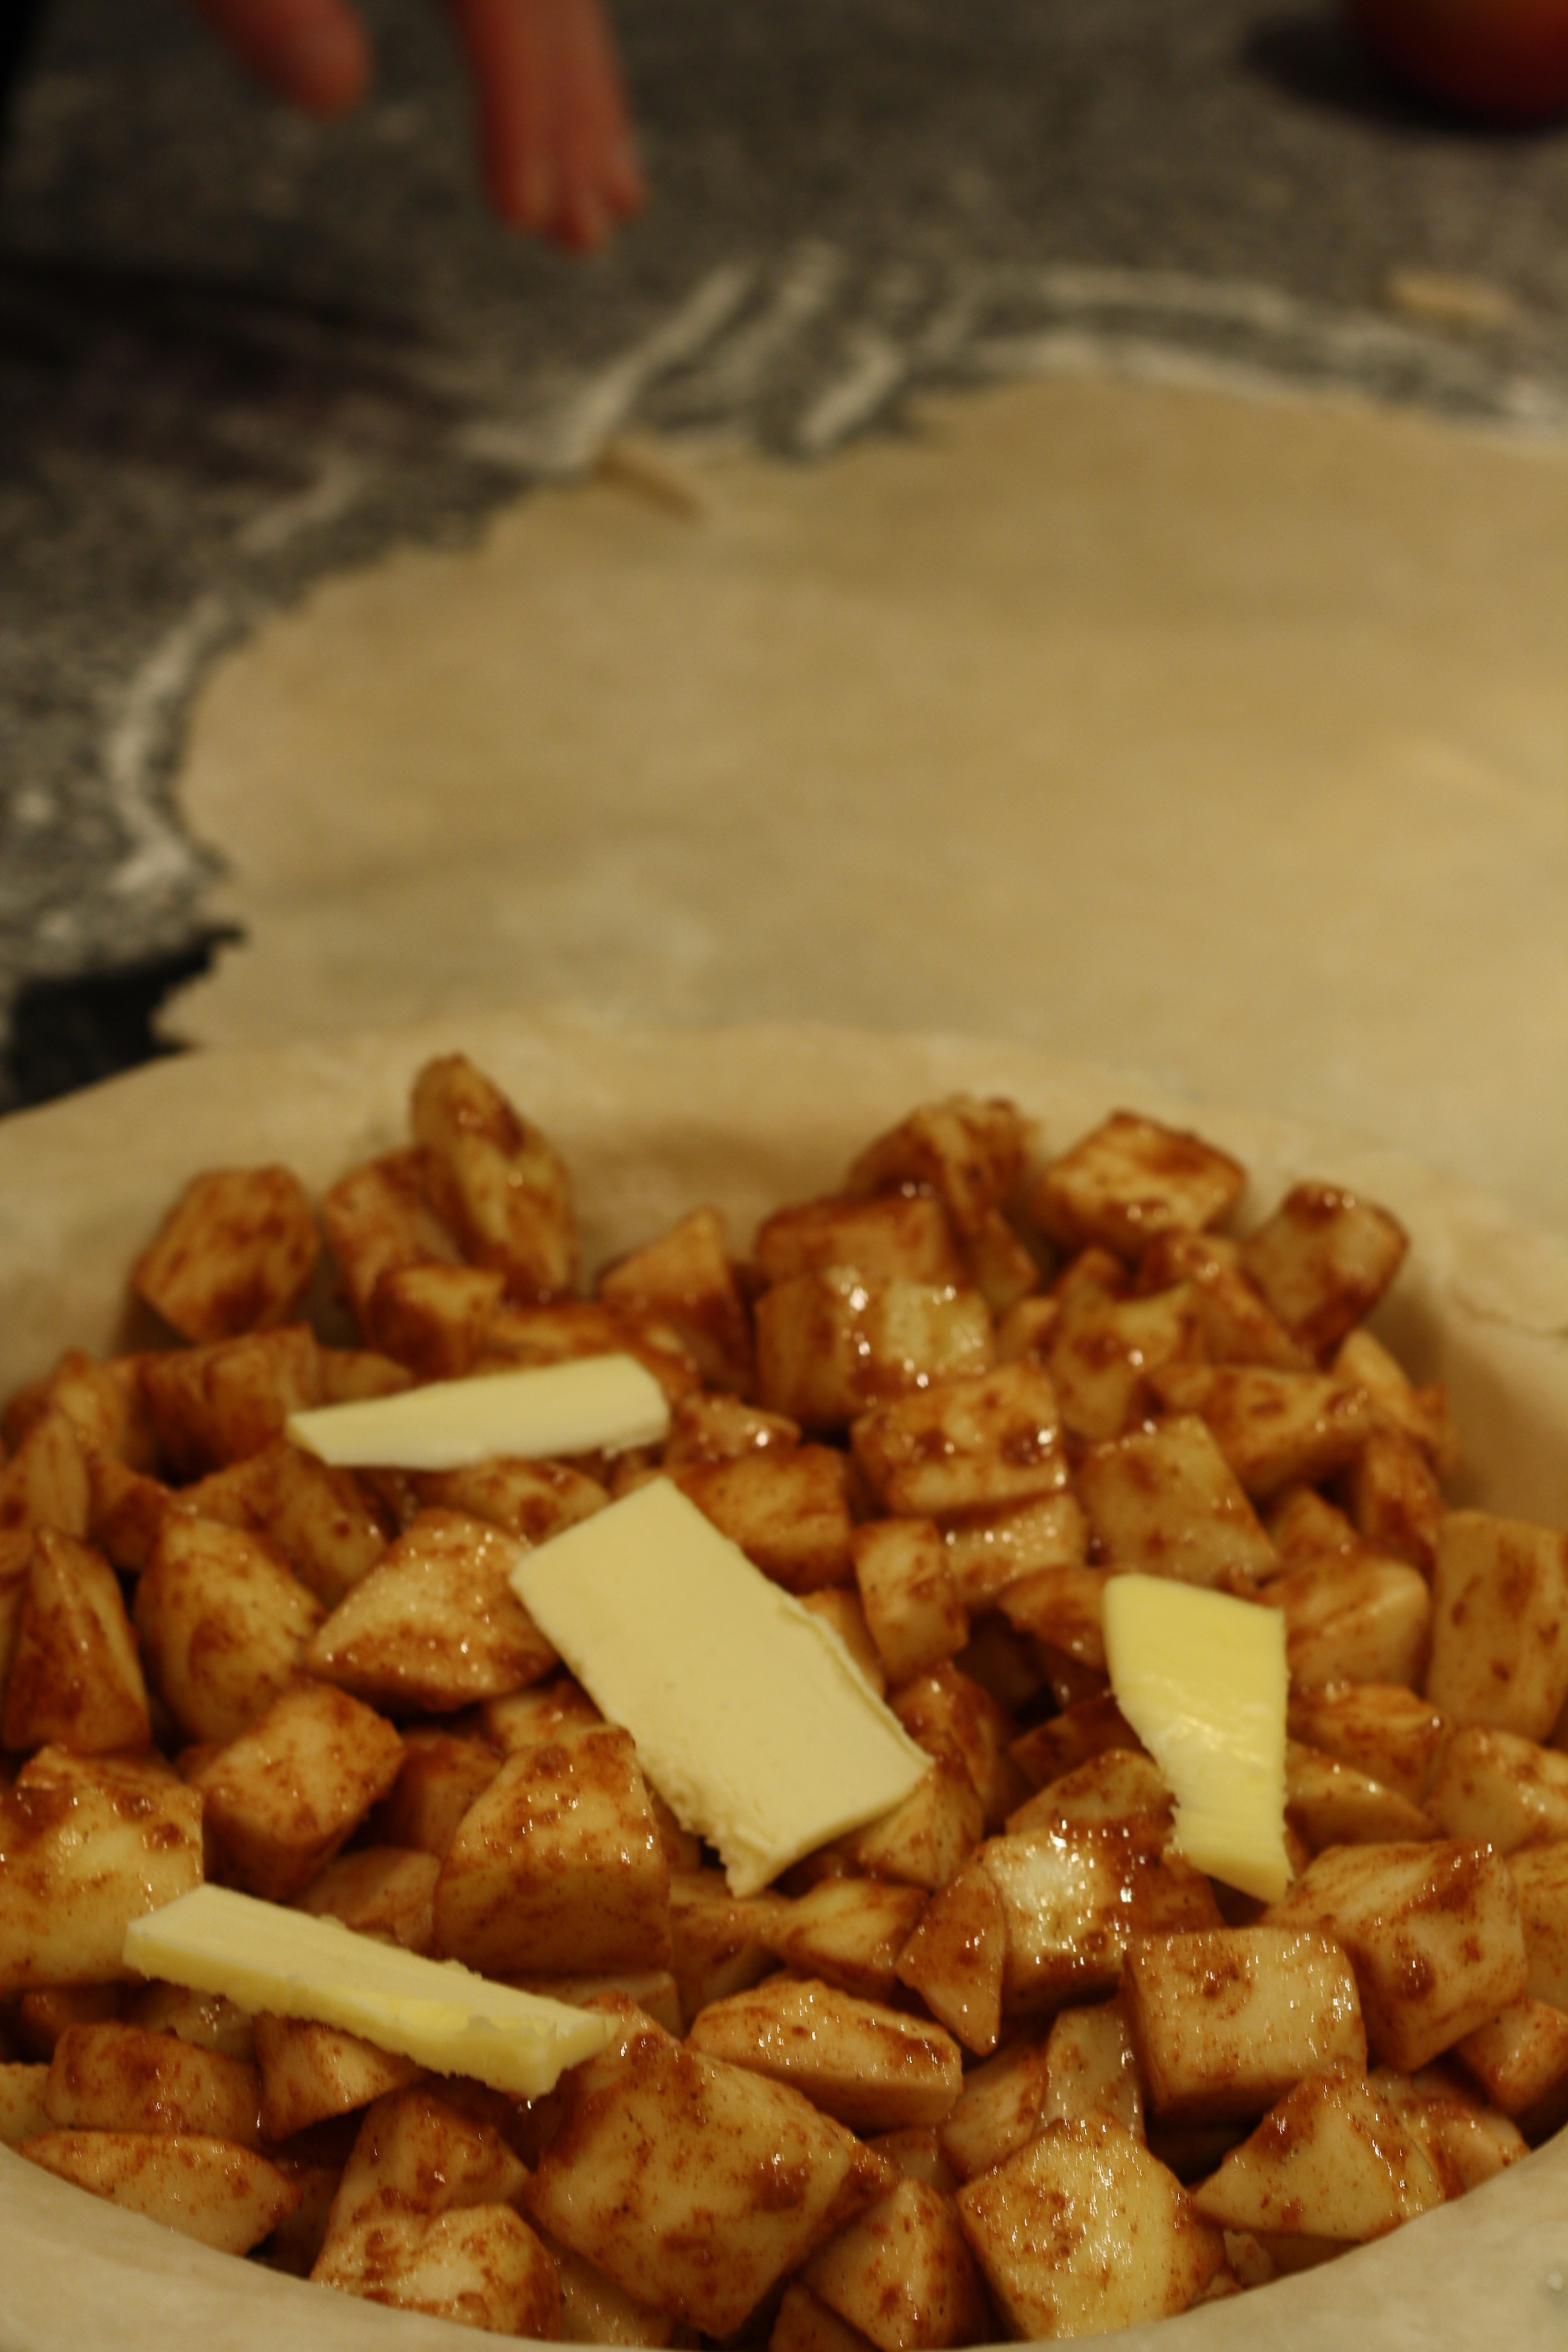
Begin by peeling and coring the apples, then dicing into cubes.

Place the apples in a medium sized bowl and toss with flour, sugar, cinnamon, nutmeg, and salt till all the apples are well coated.

IMG_7770

While you are making the pie crust, the apples will have time to marinate in their delicious spice coating.

Pie Crust

Combine the flour and salt in a medium size bowl and add the shortening. Using two knives, cut the shortening into the flour until the mixture is about the size of small peas. Add 1 tablespoon of water at a time until the dough forms a ball.

IMG_7769

Split the dough into two equal portions. Wrap one portion in cellophane and place it in the fridge. Sprinkle a dusting of flour across a work surface and proceed to roll out the second portion of dough to form a 10-inch circle.

IMG_7774                       IMG_7782

Carefully transfer the rolled dough into a pie plate. A handy trick that will keep the dough from tearing is to roll it back up around the rolling pin, then transfer and unroll over the pie plate. Using your fingers, push the dough firmly into the pie plate so no air remains underneath and trim any excess dough from the sides.

IMG_7785

Add the apple filling and top with bits of butter.

IMG_7799

Repeat the same process for the second portion of dough, rolling it out and transferring it directly on top of the apple filling. Again, use your fingers and pinch the dough along the rim to form a seal. Trim any excess dough.

IMG_7803                  IMG_7806

Pre-heat the oven to 425 degrees Fahrenheit. Next, use a knife to cut 3 slits into the top of the pie allowing the steam to escape while baking. Cover the crust of the pie with a small amount of aluminum foil for the first 35 minutes of baking to ensure that it doesn’t burn.

IMG_7851

Cook the apple pie for 45-50 minutes and remove the aluminum foil from the crust for the last 15 minutes. Let the pie cool and serve with some delicious ice cream for dessert!

My-O-Mahi! Devine Fish Tacos

Prior to making this recipe I had never eaten a fish taco before. I had always wanted to try them and friends of mine had told me they were absolutely delicious. So instead of ordering them at a restaurant, I decided to be adventurous and make them at home! However, I went a step further and challenged myself to use Mahi Mahi as the fish of choice.

photo 2

To give everyone a little description of Mahi Mahi, they are one of the fastest growing fish in the ocean, concentrated mostly in the Caribbean, the Golf of Mexico, and around Florida. They have a bizarre shaped head that is very rounded and are beautiful in color, varying from a blueish-green down to a gold. They are also known as the dolphin fish but have no relation to actual dolphins. In terms of using Mahi Mahi in cooking, it is moderate in flavor and have a fairly firm texture that can stand up to various cooking techniques, meaning the fillet will not fall apart very easily. It also contains mercury so it is best to eat this fish in moderation. (Information from Facts).

Back to the tacos! This recipe gives the Mahi Mahi a huge burst of flavor. A dry rub is created that adds heat and gusto, while other ingredients are prepared to compliment the fish, adding texture and crunch.

Ingredients:

  • Mahi Mahi (ask your local fishmonger to cut you a filet corresponding to how many guests you’ll be cooking for, I got just over a pound for two people with plenty of leftovers).
  • 1/4 tsp chili
  • 1 tsp paprika
  • 1/2 tsp cayenne
  • 1 tsp onion powder
  • 1 tsp oregano
  • 1 tsp garlic powder
  • 1 tbsp fresh dill
  • Handful of cilantro
  • Pinch of salt
  • 1/4 tsp pepper
  • 1 cup of purple cabbage
  • 1/2 cup plain yogurt
  • 2 green onions
  • Juice of a lime
  • 1 Avocado
  • Taco shells (quantity varying on number of guests)
  • Sour cream

Directions:

The first step is to make the dry rub. Combine chili, paprika, cayenne, onion powder, oregano, garlic powder, fresh dill, salt,and pepper in a bowl. Rub mixture all over the Mahi Mahi until well covered. Let the fish marinate in the fridge for 30 minutes.

While the fish is marinating, chop up the purple cabbage into bite size slivers. Add the chopped green onion, cilantro, plain yogurt, lime, salt, and pepper. Mix everything together until creamy and well blended.

Cut the avocado into cubes that will fit nicely into the taco shells.

photo 1

Pre-heat the barbeque to medium high heat. After 30 minutes, remove the fish from the fridge. When the barbeque is hot, turn down the heat to medium heat. Oil the grill with a paper towel so the Mahi Mahi doesn’t stick. Place the fish on grill for 4 minutes on each side (be gentle when flipping the fish).

Remove the cooked fish from the grill and let it rest for 5 minutes before slicing.

You can either assemble the tacos before serving or you can create a build-your-own-taco station at the table to allow guests to get creative!

Have fun!